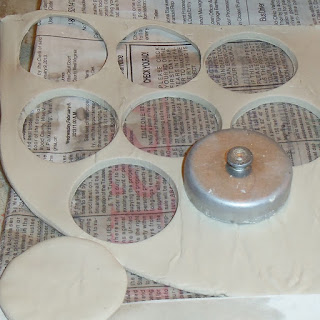
The first step is getting the clay ready, rolled out and cut into shapes. After they are cut out, I just use my fingers and pinch them thinner in the center and around the edges.
Second step is to fold it around a straw or whatever you want to use to begin the shape.
I gently moisten just the front outside edge and pinch the ends together.
Again, very gently so I don't ruin the shape, I slip it off the straw and begin to bend it in the opposite direction.
Again, very carefully, I then use a straw to add the holes to the ends.
Then, they are allowed to dry, I wet sand them, glaze and fire. Here is the end result:
Hope you enjoyed this quick tutorial. Let me know if you give them a try!


Those are SUPER adorable! Thank you for sharing your process with us all :)
ReplyDeleteThank you!
DeleteVery interesting. I was wondering the other day if you started out with a circle or a figure eight piece. I can now mark this off my list of things to wonder about. Great job.
ReplyDeleteThanks Jean!
Delete